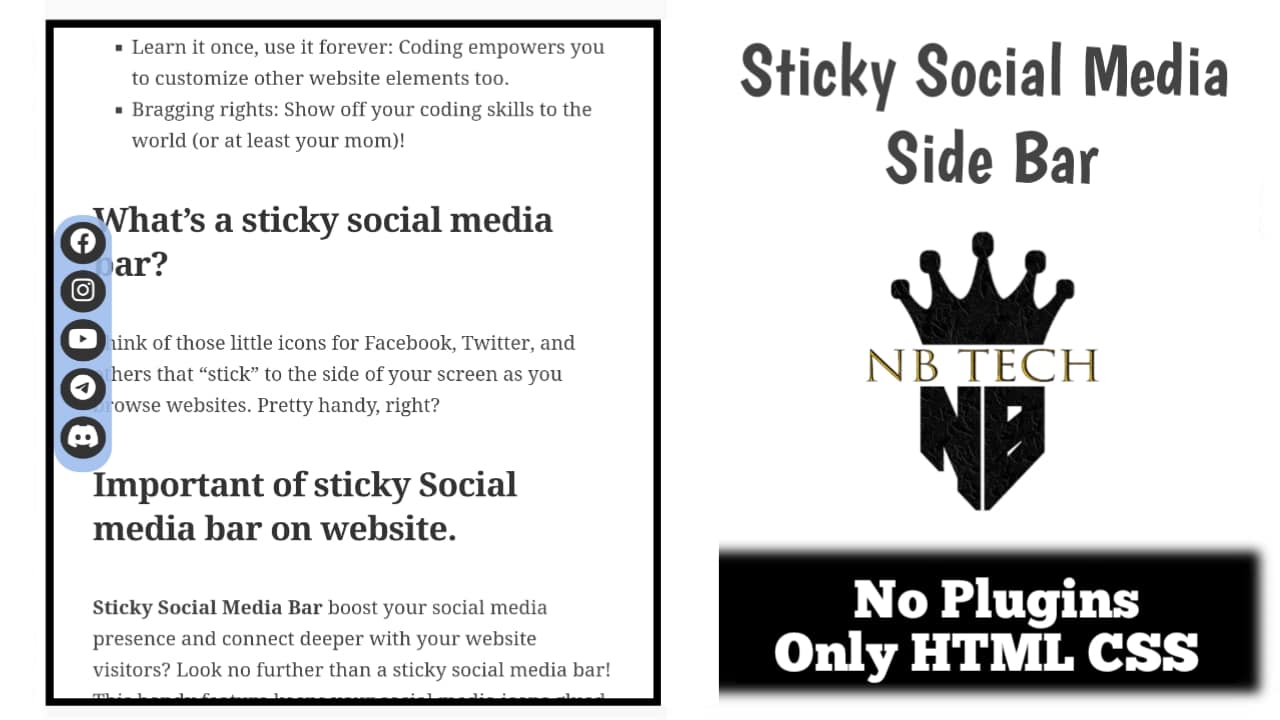
Hey everyone! Today’s lesson is all about making a cool “sticky” social media bar that stays visible as you scroll down a website. We won’t use any fancy plugins and I always recommend to use codes.
Why code it ourselves instead of using plugins?
- Freedom! You have complete control over how the Website looks and behaves.
- No bloat: Plugins can slow down your website, but code is lightweight.
- Learn it once, use it forever: Coding empowers you to customize other website elements too.
- Bragging rights: Show off your coding skills to the world (or at least your mom)!
What’s a sticky social media bar?
Think of those little icons for Facebook, Twitter, and others that “stick” to the side of your screen as you browse websites. Pretty handy, right?
Important of sticky Social media bar on website.
Sticky Social Media Bar boost your social media presence and connect deeper with your website visitors? Look no further than a sticky social media bar! This handy feature keeps your social media icons glued to the side of your website, making them effortlessly accessible no matter where visitors scroll.
Imagine it: instant clicks to your Facebook, YouTube, Instagram, and more, turning passive viewers into engaged followers. It’s like having a friendly “follow me” sign constantly reminding them to join the fun on your social channels. So, why wait? Let a sticky social media bar bridge the gap between your website and thriving online communities!
How we make Sticky Social Media Bar on WordPress Websites!
Element we using
- HTML (HyperText Markup Language)
- CSS (Cascading Style Sheets)
- JS (JavaScript)
Related Topic, How to make Sticky Sidebar on WordPress Websites. How to add Meta Tags / Description on WordPress Websites.
Let’s dive into How to create Sticky Social Media Bar on WordPress Websites.
First Step Adding HTML
Let’s open WordPress Dashboard.
We add first HTML on header php. Appearance > Theme File Editor > Click on Theme Header (Header PHP).
Past given HTML code on Header PHP after <head> or before </head> tag for showing Social Media Bar on every ware of Website. If you want to show Social Media Bar only on post Past code on Single post (Post PHP).
<div class="social-media-box">
    <div class="social-media-bar">
        <a href="https://www.facebook.com" target="_blank"><i class="fa-brands fa-facebook"></i></a>
        <a href="https://www.instagram.com" target="_blank"><i class="fa-brands fa-instagram"></i></a>
		<a href="https://www.youtube.com" target="_blank"><i class="fa-brands fa-youtube"></i></a>
		<a href="https://telegram.org" target="_blank"><i class="fa-brands fa-telegram"></i></a>
		<a href="https://discord.com" target="_blank"><i class="fa-brands fa-discord"></i></a>
    </div>
</div>
Don’t forget to put your Social Media link in HTML put your social media link where is social media link. Remove “target=”_blank”” to prevent opening the social media link in a new tab.
Now after past code click on update.
Additional Tips: If you want to add other Social Media link and Icon you can simply do copy and paste <a href=”https://discord.com” target=”_blank”><i class=”fa-brands fa-discord”></i></a> This code before </div> tag. And Remove old link, add new social media link. For icon just change “fa-here put social media name” (like: fa-printerest). For more fa (fontawesome) icon click here you can find here most of social media icon. If don’t want any social media link icon you can simply remove full code. For example if you don’t want Discord then remove ( <a href=”https://discord.com” target=”_blank”><i class=”fa-brands fa-discord”></i></a> ) all this code.
Second Step Adding CSS
We add CSS file on WordPress to make attractive and user friendly Sticky Social Media Bar on left side of our website.
For adding this CSS code on your website Click on Appearance > Customize > Additional CSS. Past the given CSS Code.
.social-media-box {
    position: fixed;
    left: 0;
    top: 50%;
    transform: translateY(-50%);
    z-index: 9999;
    background-color: #9bed; /* Light blue color */
    padding: 5px;
    border-radius: 20px; /* Squircle shape */
}

.social-media-bar {
    display: flex;
    flex-direction: column;
}

.social-media-bar a {
    display: block;
    margin-bottom: 5px;
    font-size: 20px;
    color: #FFFFFF; /* Color for the icon */
    background-color: #333;
    padding: 5px;
    border-radius: 50%;
    text-align: center;
    text-decoration: none;
    transition: background-color 0.3s ease, color 0.3s ease; /* Added transition for color change */
}

.social-media-bar a:hover {
    background-color: #e9edf2; /* Change background color on hover */
    color: #ebceae; /* Change icon color on hover */
}
Now click on updates. Now here we done.
Guide Video
Additional Tips: If you know about CSS you can do own customization on this CSS. Like box shape, Box background colour, Icon colour, Hover colour. Or you can move Social Media Bar from left to right side any ware you want.
After placing the CSS code click on published button. Now you don Check you website.
Hope you get everything you need on this lesson How to add sticky Social Media Bar on WordPress Websites. If you have to know other tips about WordPress you can check out on WordPress menu. Thank you.
Leave a Reply