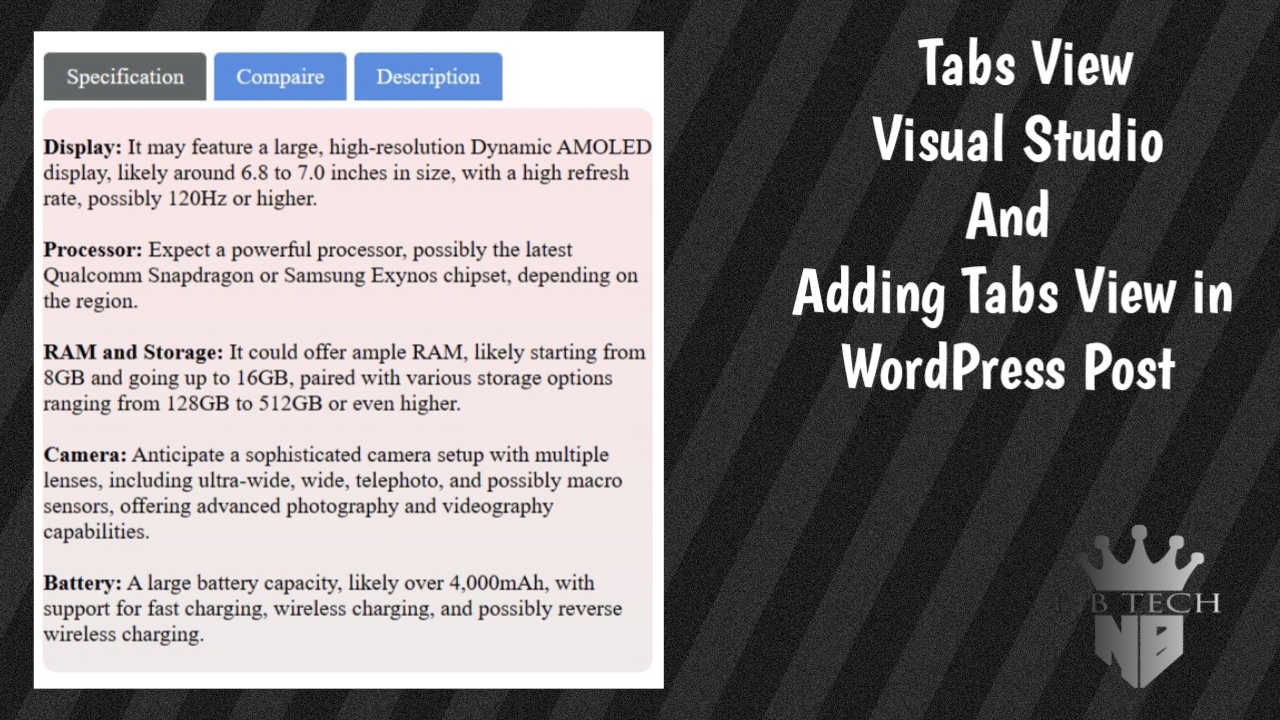
Tabs on websites are commonly used for organizing content into different sections or categories within a single page. They allow users to navigate between different sets of information without leaving the page. Tabs can be used for various purposes, such as displaying product features, dividing content into categories, or presenting different views of data. They provide a compact and organized way to present a large amount of information, improving user experience and usability.
How we create tab on WordPress Websites
To create tabs on a WordPress website without using plugins, you can write custom code using HTML, CSS, and JavaScript. You can start by writing the code for the tabs in a text editor like Visual Studio. This code includes the structure of the tabs using HTML, the styling using CSS to make them look good, and JavaScript to handle the tab switching functionality. Once you’ve tested and finalized the code in Visual Studio, you can then add it to your WordPress post or page by editing the HTML directly in the WordPress editor. This way, you can have tabs on your WordPress site without relying on any external plugins.
Firstly, We create tabs using visual studio
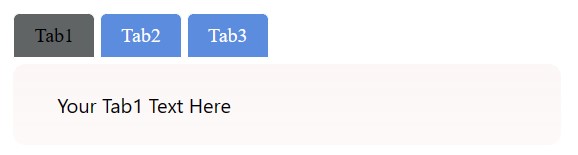
We start by creating three files for making tabs by Visual Studio index.html for HTML content, styles.css for CSS styling, and script.js for JavaScript functionality. These files are saved in a single folder to ensure they are connected and can work together seamlessly. Source code is given below in Tab View.
How we implement this tabs view custom source code in WordPress
We’ve decided to skip using plugins and instead use our own custom code to create tab views on WordPress website posts. We’ve already written the code using Visual Studio and previewed how it looks. Now, we’re ready to implement this custom code on our WordPress site.
Remember: When adding the HTML code to WordPress, we don’t need to include the <HTML>, <head>, and <title> tags; we only need to add the elements that are inside the <body> tag.
Firstly Adding HTML for Tab View in WordPress post
- Go to the Post > Edit
- After if you are using block editor Choose HTML from block if you are using Classic or other editor click on Code Editor
- Copy the given code and past on block or in code editor where you want to display tabs.
<!-- Tab buttons -->
<div class="container9">
   <div class="tab" onclick="showCode('tab1')">Tab1</div>
   <div class="tab" onclick="showCode('tab2')">Tab2</div>
   <div class="tab" onclick="showCode('tab3')">Tab3</div>
     <!-- Code container -->
     <div class="codecontainer">
       <!-- Tab1 -->
       <div id="tab1Text" class="code-block active">
         Your Tab1 Text Here
       </div>
       <!-- Tab2 -->
       <div id="tab2Text" class="code-block">
         Your Tab2 Text Here
       </div>
       <!-- Tab3 -->
       <div id="tab3Text" class="code-block">
         Your Tab3 Text Here
       </div>
     </div>
</div>- Now add your text, paragraph, or code etc on each tab as your requirements. For more in detail watch this videos.
Note: Please feel free to customize the names of the tabs according to your preferences. For instance, if you wish to change “Tab1” to “Features,” you should adjust both the title and the corresponding ID. For example, you can change:
“showCode(‘tab1’)”>Tab1</div> to “showCode(‘features’)”>Features</div>
And also change <div id=”tab1Text” class=”code-block active”> to <div id=”featuresText” class=”code-block active”>
Remember to update all instances of “Tab1” accordingly throughout the code.
Secondly, We add CSS for Tabs view in WordPress Post
Here, We are adding our custom CSS in WordPress for Tabs view in website post. If you don’t know how to add CSS in WordPress website Click Here.
CSS Code
.container9 {
  border-radius: 20px;
  align-items: center;

  padding: 16px;
  max-width: 900px;
  margin: 0 auto;
  overflow-x: auto;
  width: 90%;
}
.codecontainer {
  background-color: #0088ff27;
  border-radius: 10px;
  margin-top: 5px;
  font-family: system-ui, -apple-system, BlinkMacSystemFont, 'Segoe UI', Roboto, Oxygen, Ubuntu, Cantarell, 'Open Sans', 'Helvetica Neue', sans-serif;
background: linear-gradient(to bottom, #f5e6e653, #eee0de2d);
}
.tab {
  margin-top: -13%;
  cursor: pointer;
  padding: 8px 16px;
  background-color: #5c8cde;
  border: 1.5px solid #ffffff;
  border-radius: 5px 5px 0 0;
  display: inline-block;
  color: #ffffff;
  cursor: pointer;
}
.tab:hover {
  background-color: #7ae396;
  color: #000000;
}

.tab.active {
  background-color: #606465;
}

/* Styling for code container */
.code-container {

}

/* Styling for code blocks */
.code-block {
  display: none;
  white-space: pre-wrap;
}

.code-block.active {
  display: block;
}

/* Styling for copy button */
.copy-button {
  border: 2px solid #ee9494;
  background-color: #606465;
  border: none;
  border-radius: 3px;
  cursor: pointer;
  color: #ffffff;
}
.copy-button:hover {
  background-color: #5c8cde;
  color: #ffffff;
}
Feel free to modify values like colors, font sizes, border radius, and other properties to suit your preferred styling. Online tools are available for instant preview and experimentation with various values, allowing you to customize the design to your liking. For more customizing details Click Here.
Thirdly, We add JavaScript for Tabs view in WordPress Post
Here, We are adding our custom JavaScript in WordPress for Tabs view in website post. If you don’t know how to add JavaScript in WordPress website Click Here.
JavaScript Code
function showCode(language) {
  // Hide all code blocks
  var codeBlocks = document.querySelectorAll('.code-block');
  codeBlocks.forEach(function(block) {
    block.classList.remove('active');
  });

  // Show the selected code block
  var selectedBlock = document.getElementById(language + 'Text');
  selectedBlock.classList.add('active');

  // Remove active class from all tabs
  var tabs = document.querySelectorAll('.tab');
  tabs.forEach(function(tab) {
    tab.classList.remove('active');
  });

  // Add active class to the clicked tab
  event.target.classList.add('active');
}

function copyCode() {
  var activeBlock = document.querySelector('.code-block.active');
  var codeText = activeBlock.innerText;

  navigator.clipboard.writeText(codeText)
    .then(function() {
      alert('Code copied to clipboard!');
    })
    .catch(function(error) {
      console.error('Failed to copy code: ', error);
    });
}
Guide Video
Wrapping up
In conclusion, we’ve successfully implemented a tabs view on our WordPress website posts using custom HTML, CSS, and JavaScript. By bypassing the use of plugins, we’ve achieved design flexibility and improved site performance. Users can now seamlessly navigate through different sections of content within a single post, enhancing their browsing experience. With the customization options available, we’ve ensured that the tabs blend seamlessly with the overall design of the website. Overall, this approach offers a lightweight and efficient solution for incorporating tabs on WordPress posts.
Leave a Reply